In a world that constantly pulls us down, literally and figuratively, finding ways to shift our perspective can be profoundly beneficial. Imagine defying gravity, if only for a few moments, and experiencing the world from an entirely new angle. This isn’t just a whimsical thought; it’s the essence of inversions – a powerful practice embraced by various disciplines from yoga to physical therapy. Going upside down offers a unique blend of physical, mental, and emotional benefits, inviting us to challenge our perceptions, strengthen our bodies, and perhaps even find a moment of serene clarity in a busy day. Let’s delve into the fascinating world of inversions and discover how turning your world upside down can actually set you right side up.
What Are Inversions? Redefining Gravity’s Pull
At its core, an inversion is any posture where your head is positioned below your heart. This simple shift in orientation can have a profound impact on your body’s systems, primarily by altering the effects of gravity. While often associated with advanced yoga poses, inversions encompass a wide range of practices accessible to nearly everyone.
Understanding the Spectrum of Inversions
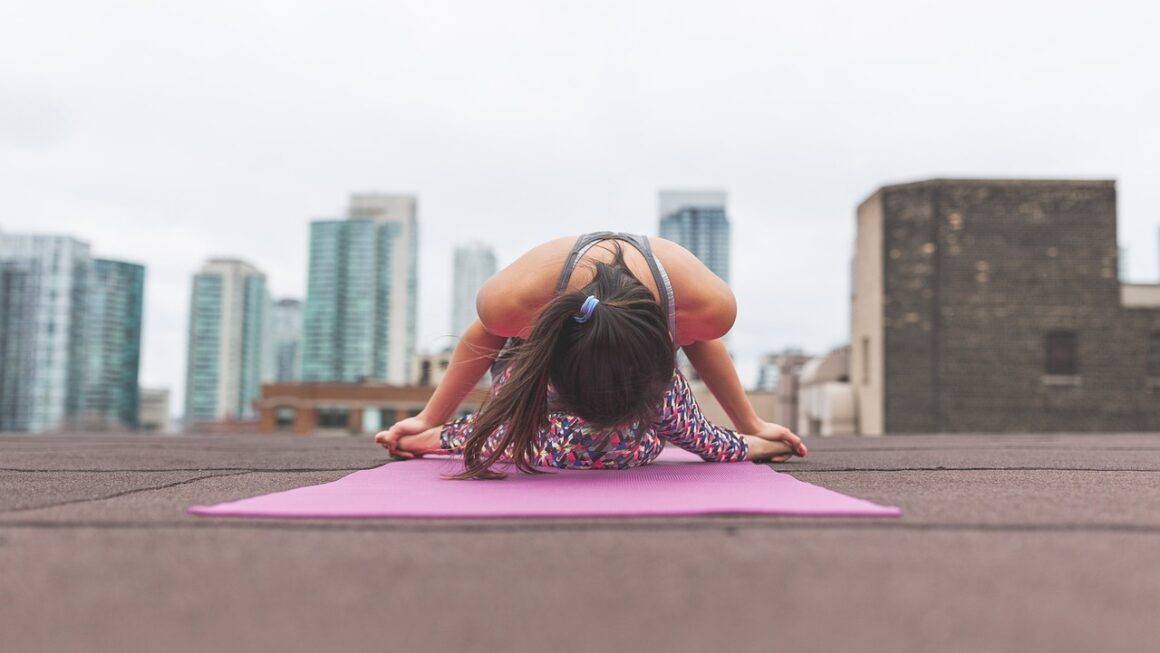
- Partial Inversions: These are postures where the head is below the heart, but your feet may still be on the ground or elevated slightly. Examples include
Downward-Facing Dog (Adho Mukha Svanasana)
in yoga, or simply bending forward from the waist.
- Full Inversions: In these postures, your entire body is supported in an upside-down position, with the head as the lowest point. Classic examples include
Headstand (Sirsasana)
,
Handstand (Adho Mukha Vrksasana)
, and
Shoulder Stand (Sarvangasana)
.
Common Inversion Practices
Inversions aren’t limited to the yoga mat. They are integrated into various wellness and fitness modalities:
- Yoga: A cornerstone of many yoga practices, inversions are revered for their physical and meditative benefits.
- Aerial Yoga: Utilizing a fabric hammock, aerial yoga allows for supported inversions, making them more accessible and offering unique spinal decompression benefits.
- Inversion Tables: These devices gently suspend you upside down, often used for therapeutic purposes like back pain relief and spinal decompression.
- Acrobatics and Gymnastics: Inversions form the foundation for many strength and balance-building exercises.
Actionable Takeaway: Recognize that you don’t need to be an acrobat to start an inversion practice. Begin by exploring partial inversions and gradually work your way up with proper guidance.
The Science-Backed Benefits of Going Upside Down
The practice of inversions is not just about feeling good; it’s backed by a multitude of physiological and psychological advantages that contribute to overall well-being. Let’s explore some of the key
benefits of inversions
.
Boosting Circulation and Lymphatic Drainage
When you invert, gravity works in your favor to enhance circulation. Blood flow to the brain increases, which can sharpen focus and invigorate mental function. More importantly, inversions significantly aid the
lymphatic system
.
- The lymphatic system, responsible for waste removal and immune function, relies on muscle movement and gravity to circulate lymph fluid.
- Inversions provide a gravitational assist, helping to flush toxins from the lower extremities towards the lymph nodes, potentially reducing swelling and boosting immunity.
Did you know? Some studies suggest that even short periods of inversion can increase cerebral blood flow, potentially improving cognitive function and alertness.
Spinal Decompression and Pain Relief
One of the most widely celebrated benefits of inversions, especially through the use of an
inversion table
, is
spinal decompression
.
- Throughout the day, gravity compresses our spinal discs, leading to potential nerve impingement and
back pain
.
- Inverting gently stretches the spine, creating space between the vertebrae and relieving pressure on nerves. This can alleviate chronic back pain, improve posture, and enhance flexibility.
- Practical example: Many physical therapists recommend inversion therapy for individuals suffering from sciatica, herniated discs, or general lower back discomfort.
Enhancing Mental and Emotional Well-being
Beyond the physical, inversions offer profound psychological benefits:
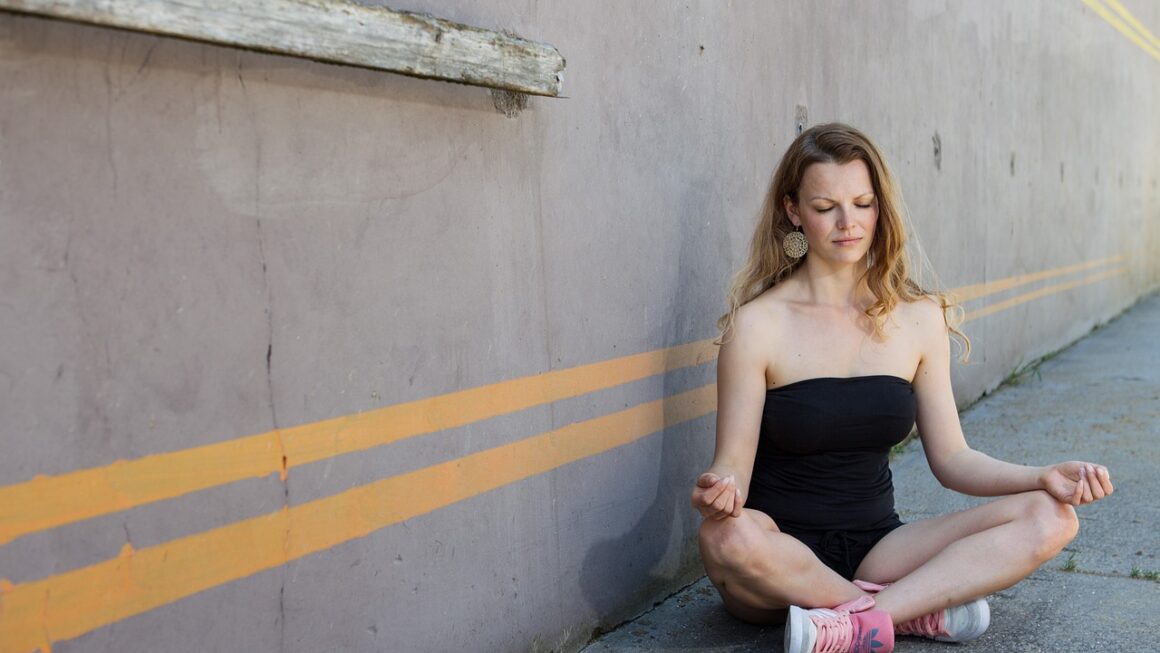
- Stress Reduction: The act of going upside down can be calming, triggering the parasympathetic nervous system (our “rest and digest” mode). It’s a powerful way to
stress relief
and gain a new perspective on challenging situations.
- Mood Boost: Increased blood flow to the brain, combined with the challenge and accomplishment of holding an inversion, can release endorphins, leading to a natural mood uplift.
- Improved Focus: The concentration required to balance in an inversion can act as a form of moving meditation, honing your ability to focus and be present.
Building Core Strength and Balance
Holding many inversion poses, particularly handstands and headstands, demands significant
core strength
, upper body strength, and immense body awareness.
- These postures engage deep abdominal muscles, strengthen the shoulders and arms, and cultivate a refined sense of balance and proprioception (your body’s ability to sense its position in space).
Actionable Takeaway: Embrace inversions not just for spinal health, but as a holistic practice that rejuvenates your body from the inside out and sharpens your mind.
Preparing for Your Inversion Journey: Safety First!
While the benefits of inversions are compelling, approaching them with caution and proper preparation is crucial. Safety should always be your top priority to prevent injury and maximize positive outcomes.
Consult a Healthcare Professional
Before embarking on any inversion practice, especially if you have pre-existing health conditions, it’s vital to get clearance from your doctor. Certain conditions may contraindicate inversions:
- High Blood Pressure: The rush of blood to the head can exacerbate hypertension.
- Glaucoma or Detached Retina: Increased ocular pressure can be dangerous for eye conditions.
- Heart Conditions: Individuals with heart disease should avoid inversions.
- Pregnancy: Especially after the first trimester, inversions are generally not recommended without specific medical guidance.
- Recent Injury or Surgery: Particularly involving the head, neck, spine, or shoulders.
- Severe Osteoporosis or Vertigo.
Essential Warm-Up and Core Activation
Never go into inversions cold. A proper warm-up prepares your muscles and joints, reducing the risk of strain or injury.
- Dynamic Stretches: Arm circles, shoulder rolls, wrist rotations, cat-cow stretches for spinal mobility.
- Core Activation: Engage your abdominal muscles with planks, crunches, or boat pose variations to build the necessary stability.
- Neck and Shoulder Strengthening: Gentle neck stretches and shoulder shrugs to prepare these critical areas.
Starting Safely: Gradual Progression and Support
Don’t rush into full inversions. Patience and consistency are key:
- Use Wall Support: The wall is your best friend when learning headstands and handstands. It provides stability and confidence.
- Seek Qualified Instruction: Learn from an experienced yoga instructor or physical therapist who can provide hands-on adjustments and personalized guidance.
- Listen to Your Body: If you feel any sharp pain, dizziness, or discomfort, come out of the pose immediately. There’s no benefit in pushing through pain.
Props and Equipment for Supported Practice
Leverage tools to make inversions safer and more accessible:
- Yoga Blocks and Straps: Can be used to create support in shoulder stands or to help with alignment.
- Yoga Mat: Provides cushioning and grip.
- Inversion Tables: An excellent option for controlled
anti-gravity
spinal decompression. Always follow manufacturer instructions carefully.
- Aerial Yoga Hammock: Offers full body support for a gentle inversion experience.
Actionable Takeaway: Prioritize safety by consulting a doctor, warming up adequately, seeking professional guidance, and using appropriate support systems.
Practical Inversion Poses & Techniques for All Levels
Ready to try going upside down? Here’s a progression of inversion poses, from beginner-friendly options to more advanced techniques, along with practical tips.
Beginner-Friendly Inversions (Partial Inversions)
These poses introduce the sensation of having your head below your heart without requiring significant strength or balance.
- Downward-Facing Dog (Adho Mukha Svanasana):
- How to: Start on hands and knees. Lift hips towards the ceiling, straightening arms and legs (a slight bend in knees is fine). Head hangs freely between arms.
- Benefits: Stretches the hamstrings, calves, and spine; strengthens arms and legs; calms the brain.
- Tip: Focus on pressing palms and feet evenly, lifting sit bones high, and lengthening the spine.
- Legs-Up-the-Wall (Viparita Karani):
- How to: Sit with one hip against a wall. Swing legs up the wall as you recline onto your back. You should be comfortable with hips close to the wall.
- Benefits: Calms the nervous system, relieves tired or cramped legs and feet, gentle lymphatic drainage. Excellent for
stress relief
.
- Tip: Place a folded blanket or bolster under your hips for added comfort and a deeper hip flexion. Stay for 5-15 minutes.
- Bridge Pose (Setu Bandhasana):
- How to: Lie on your back with knees bent, feet flat on the floor hip-width apart. Press into feet to lift hips towards the ceiling. You can interlace fingers beneath your back or support hips with hands.
- Benefits: Stretches the chest, neck, and spine; strengthens back, glutes, and hamstrings; calms the brain and helps alleviate stress.
- Tip: Avoid crunching the neck; keep the back of the neck long. You can place a yoga block under your sacrum for a supported, restorative version.
Intermediate Inversions
These poses require more core strength, shoulder stability, and confidence. Always practice with a wall or an experienced spotter.
- Shoulder Stand (Sarvangasana – “Queen of Asanas”):
- How to: Lie on your back, then lift legs and hips towards the ceiling, supporting your lower back with your hands. Keep elbows close together and gaze softly towards your chest (do not turn your head).
- Benefits: Stimulates thyroid and parathyroid glands, calms the brain, stretches the neck and shoulders.
- Tip: Always use folded blankets under your shoulders (not head) to protect your neck. Enter and exit slowly and mindfully. Follow with a counter pose like Fish Pose.
- Dolphin Pose (Ardha Pincha Mayurasana):
- How to: Start on hands and knees, then lower forearms to the mat, elbows shoulder-width apart. Lift hips towards the ceiling as in Downward-Facing Dog, pressing actively through forearms.
- Benefits: Strengthens shoulders, arms, back, and core; prepares the body for forearm stand (Pincha Mayurasana).
- Tip: Keep your head lifted off the floor, avoiding pressure on your neck. Focus on rotating your upper arms externally and drawing shoulder blades down your back.
Advanced Inversions (Approach with Caution and Guidance)
These poses demand significant strength, balance, and body awareness. They should only be attempted under the guidance of a qualified instructor.
- Headstand (Sirsasana – “King of Asanas”):
- How to: Interlace fingers and place forearms on the mat, forming a tripod. Place the crown of your head on the mat, then lift hips and slowly walk feet towards your head. Gently lift legs up, one by one, or together.
- Benefits: Strengthens core, shoulders, and arms; increases blood flow to the brain; builds confidence.
- Tip: Protect your neck by engaging your shoulders and pressing firmly through your forearms, taking weight off your head. Start against a wall.
- Handstand (Adho Mukha Vrksasana):
- How to: Place hands shoulder-width apart on the mat. Kick up one leg at a time, or both, towards a wall or with a spotter. Engage your core and gaze between your hands.
- Benefits: Builds immense upper body and core strength, balance, and body awareness.
- Tip: Practice handstand drills like L-shaped handstands at the wall to build strength before attempting to kick up. Focus on pressing through strong, active hands.
Utilizing Inversion Tables
For those seeking
spinal decompression
without the intensity of active yoga poses, an
inversion table
is an excellent tool:
- How to: Secure yourself to the table with ankle supports. Adjust the table’s pivot point to your height. Gradually recline the table to your desired angle (many start with 30-60 degrees, not necessarily fully inverted).
- Benefits: Gently stretches the spine, relieves pressure on discs and nerves, improves circulation, and can alleviate muscle tension.
- Tip: Start with short durations (2-5 minutes) and shallow angles. Gradually increase as your body adapts. Ensure you are well-hydrated before and after use.
Actionable Takeaway: Choose inversions appropriate for your current level, always prioritize proper form, and consider utilizing props and experienced instructors for a safe and effective practice.
Maximizing Your Inversion Practice: Tips and Common Mistakes
To truly unlock the potential of inversions, a mindful approach and awareness of common pitfalls can significantly enhance your experience and safety.
Key Tips for a Fulfilling Inversion Practice
- Listen to Your Body: This is paramount. Pain is a signal to stop and reassess. Never force a pose or push beyond your current capabilities.
- Consistency Over Intensity: Regular, shorter inversion sessions are often more beneficial than infrequent, intense ones. A few minutes daily can yield significant results.
- Breath Awareness: In yoga inversions, maintaining a steady, even breath (like
Ujjayi breath
) helps to calm the nervous system and sustain the pose.
- Engage Your Core: A strong and engaged core is the foundation for stability and protection in almost all inversions.
- Counter Poses: Always follow an inversion with a suitable counter pose to re-lengthen the spine and re-establish equilibrium. For headstand or shoulder stand, a gentle reclined twist or child’s pose works well.
- Hydration: Stay well-hydrated, especially if using an inversion table, to support spinal health and overall well-being.
Common Mistakes to Avoid
Being aware of these common errors can save you from discomfort or injury:
- Rushing In and Out: Entering and exiting inversions too quickly can cause dizziness, neck strain, or loss of balance. Move slowly and with control.
- Collapsing in the Shoulders: In poses like headstand or handstand, avoid sinking into your shoulders. Actively press away from the ground through your hands and forearms to create space and protect your neck.
- Arching the Lower Back: This is a common compensation that can strain the lumbar spine. Engage your core and draw your navel towards your spine to keep your body in a straight line.
- Holding Your Breath: Holding breath creates tension and increases blood pressure. Maintain a smooth, continuous breath throughout the inversion.
- Ignoring Warning Signs: Any sharp pain, throbbing in the head, or excessive dizziness means you should come out of the pose immediately.
- Not Using Support: Especially for beginners, foregoing the wall or a spotter is a recipe for instability and potential injury. Embrace the support.
Actionable Takeaway: Cultivate a mindful and patient approach to your inversion practice, focusing on proper form and body awareness to reap the full spectrum of benefits safely.
Conclusion
Inversions offer a unique and powerful way to transform your physical and mental landscape. From the gentle relief of a Legs-Up-the-Wall pose to the exhilarating challenge of a Handstand, these practices invite us to literally and figuratively shift our perspective. By enhancing circulation, decompressing the spine, building strength, and calming the mind, inversions contribute significantly to holistic health and vitality. Remember to approach inversions with respect, prioritize safety by consulting professionals and listening to your body, and progress gradually. Embrace the opportunity to defy gravity, find new balance, and discover the profound benefits of turning your world upside down.